STEP 1
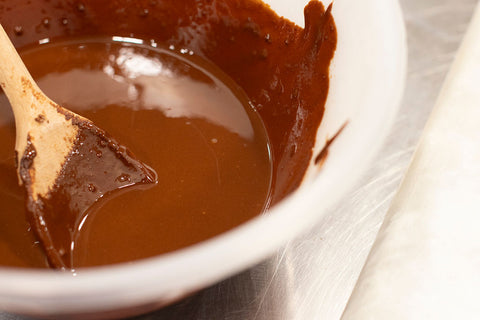
You will need to start the process with clean, dry hands and a bowl of tempered chocolate. The best volume for tempering is around 200g of chocolate which will make a nice chunky chocolate bar.
For guidance on chocolate tempering techniques please see our Easy Tempering process for chocolate fun at home.
STEP 2
Prepare your toppings and decorations. These should all be dry items, ie. not fresh fruits or really juicy items as the water content will interfere with the chocolate setting and mould may develop inside the fruit.
Your chocolate can be flavoured using spices and flavoured oils. Make sure these are not water based as they will not be compatible with the chocolate. Use 2 to 3 drops of flavoured oils like peppermint or orange for a fresh and tangy flavour.
When your chocolate is well tempered you will have a short window to be able to work with it, so it helps to have all your items prepared before hand.
STEP 3
Prepare your workspace by drying and polishing your chocolate mould. It is not necessary to use expensive chocolate moulds, take-away tubs make a great, easy to use chocolate bar mould. Alternatively use a sheet of parchment on a baking tray to craft Chocolate Bark that can be made free-style and then broken up into chunks.
STEP 4
Pour your bowlful of chocolate into your polished and prepared mould or parchment.
STEP 5
Take your mould or tray in both hands and tap on the table. You will see the chocolate spread out to fill every corner of the mould and level itself evenly. Keep tapping the chocolate mould until all the air-bubbles have risen to the surface.
STEP 6
For inclusions hidden in your chocolate bar add your chosen ingredients into the bar mould before pouring in the chocolate, this way when you tap the mould the chocolate will surround the inclusions. Contrasting items of texture that add something chewy and crunchy can make great chocolate experiences.
STEP 7
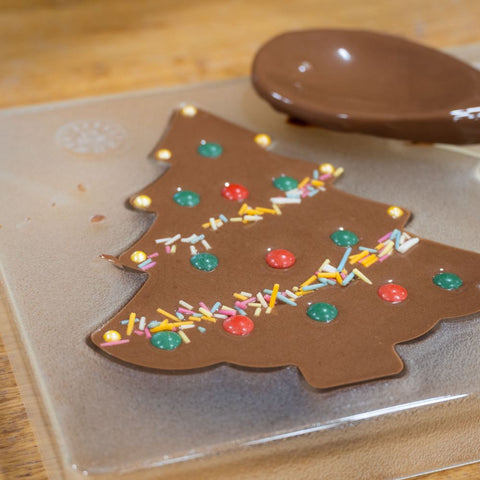
Decorate your chocolate bar however you fancy. You will need to be quick as your chocolate will start to set.
Make sure however you decorate your bar that all your toppings are touching the chocolate, otherwise they will struggle to stick onto your creation once it sets.
STEP 8
Once complete you will need to put your finished creation in the fridge to set, during this time your chocolate will crystallise and then stabilise, contracting away from the chocolate mould. Your chocolate bar will need at least 20 minutes to fully set in the fridge, possibly longer for thicker bars or on warmer days.
STEP 9
Once your chocolate bar has fully set you will see a change in colour where the chocolate was touching the mould. You should also see a separation around the edges of the mould where the chocolate has contracted and prepared to come out of the mould.
Turn the chocolate mould over and place on the table, gently push down on the chocolate so that it comes away from the mould.
Wrap up your creations in sandwich bags, tying with ribbon and use a gift tag for decoration or for gifting.
As long as you have used dry ingredients and you wrap your chocolate up so it's air-tight your chocolate creations can last several months without needing the fridge for storage.
Of course you can just enjoy them straight away!!!


