
Chocolate Bar Making Recipe

Craft your own Chocolate Bar with us
York is home to some of the most famous chocolate bars in the world. Chocolate Bars that built an industry and shared a wide range of imaginative flavours and textures that travelled the globe.
At York Cocoa Works we invite you to join us to craft your own chocolate bar and play with a range of chocolates and ingredients to put your inner Willy Wonka to work.
We've shared below a short insight to enable you to continue your chocolate crafting journey with a simple, yet effective guide to tempering chocolate to create your own chocolate masterpiece!
Enjoy the chocolate making!

TO PREPARE
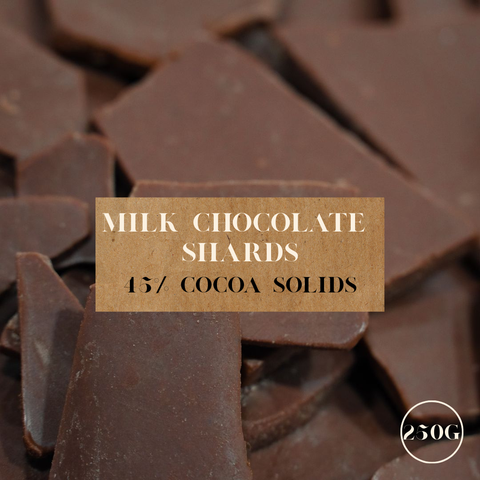
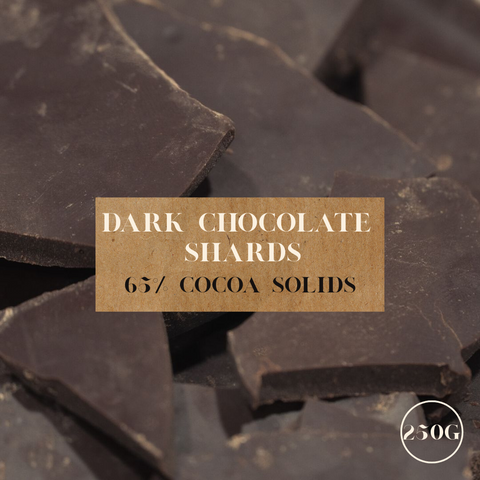
- 150g - 250g of your favourite chocolate broken into small pieces - it could be white, milk or dark chocolate - make sure it’s real chocolate by making sure it has cocoa as an ingredient and doesn’t include vegetable fat or palm oil
- A plastic bowl
- A Wooden Spoon
- Chocolate Bar Mould - this could also be a sheet of greaseproof paper and a tray to make chocolate bark if you haven’t got a chocolate bar mould like we’ve used today
- Selection of Toppings and inclusions - sweets, dried fruits, rice crispies, marshmallows, fudge, honeycomb, nuts, spices, decorations and any other topping ideas - make sure they are dried as moisture and chocolate are not a good mix.
- Chocolate Hair-dryer - a travel hairdryer works really well - ideally not one you’re using to dry your hair with. You can also use the microwave if you haven’t got a hairdryer.


TEMPERING THE CHOCOLATE
1 - Place the chocolate in a plastic bowl.
2 - Put the hairdryer on a gentle setting and aim it towards the chocolate, keeping it about 10cm from the surface of the chocolate
3 - Keep heating the chocolate until the top layer is entirely melted.
4 - Turn the hairdryer off and give the chocolate a really good stir, this will mix the cold and solid pieces together with the warm and liquid chocolate.

5 - When you have fully stirred your chocolate you will notice that it is no longer glossy, it will not yet be ready to work with so you will need to apply another round of heat as before.
6 - Repeat the heating and stirring phases about 3 or 4 times until the remaining chocolate pieces can be stirred into the chocolate to melt. By applying this method we are gently taking the chocolate to a state where it is between being liquid and solid. It is important not to apply too much heat or you will lose all of the solid and well behaved cocoa butter crystals from our chocolate that will teach the chocolate how to set and behave.

7 - When the chocolate is properly tempered you should be able to take a large spoonful of chocolate and pour it back into the bowl, allowing the ribbon of chocolate to leave a pronounce trail in the bowl as it falls from the spoon. Give the bowl a little jiggle and the trail should disappear.
This test is a good way of seeing that your chocolate has both the liquid like and solid like properties needed to be well tempered.
Another test is to dip a knife into the chocolate, set it aside for 5 minutes, it should have dried into a silky and solid colour. If the chocolate sets within 5 minutes then it may be that it has too many solid properties and you need to make it a little warmer, if the chocolate takes a lot more than 5 minutes it is likely the chocolate is too warm and too liquid and needs some more solid chocolate to encourage it to cool down.
CREATING YOUR BAR
8 - Now your chocolate is ready it’s time to get to work. If you find your chocolate has started to set while getting your moulds and inclusions ready you can easily use the hairdryer for about 20 - 30 seconds to get the chocolate back up to the right consistency, make sure you stir the chocolate to well mix the warmth.
9 - Prepare your toppings and inclusions, you can use a wide range of sweets, spices, fruits and nuts as long as they are dried and do not contain moisture.
10 - To make your chocolate you can use a chocolate bar mould or make a slab with greaseproof paper as a large bar mould or create slab like/bark pieces of your chocolate that you can break up to package or enjoy!

11 - If you want your inclusions hidden in the chocolate put these in the mould first before pouring your chocolate on.
12 - Pour your chocolate into your mould or onto the prepared tray. Make sure you pour your chocolate quickly and confidently so it doesn’t start to set before you’ve finished. Once you have filled your mould take your mould in both hands and gently tap the tray on the table to remove any pockets of air, you will see air bubbles come to the surface as you do this.
13 - If you want any decorations on top place these while your chocolate is still glossy and shiny as you won’t be able to add them once the chocolate has started to set.
14 - If your chocolate has been properly tempered you should see the chocolate start to set around the edges of your mould. Once your chocolate has all set on top it’s time to put your chocolate in the fridge for about 20 minutes.
When you see your chocolate setting what you are seeing is the cocoa butter crystals in the chocolate crystallising and starting to settle down, this is when they lose their glossy shine.

15 - When the chocolate is put in the fridge the chocolate will start to stabilise, this encourages the chocolate to tighten up and in doing so it will shrink away from the mould so you can remove it from the mould and it has that nice sounding snap to it when you break it into pieces.
16 - Once completed you can package up your chocolate as it will make an incredibly thoughtful gift! Of course you can just enjoy it!
As long as you’ve not used things like fresh fruit your chocolate should last up to a year, but make sure it’s wrapped up safely and not stored near any pungent aromas.

Join our Chocolate Bar Making Workshop to craft your own chocolate bar!
Join us to craft your own chocolate bar and unlock your chocolate imagination.
We have a range of chocolates, flavours and moulds, and our team are on hand to help you in your chocolate making journey.